In the ever-evolving landscape of business finance management, Tally Prime emerges as a pivotal tool for businesses of all scales. Known for its robust features and user-friendly interface, Tally Prime has become synonymous with efficient accounting, inventory management, and statutory compliance. As a successor to the widely acclaimed Tally ERP software, Tally Prime introduces an array of enhanced functionalities and a more intuitive user experience, making financial management more streamlined than ever.
Whether you are a small business owner, a startup entrepreneur, or part of a large corporation, understanding the intricacies of Tally Prime is essential for optimizing your financial operations. From generating compliant e-invoices to maintaining an accurate audit trail, Tally Prime Server offers a comprehensive suite of features to manage your business’s financial health effectively.
Whether you’re looking to understand the basics of e-invoicing, seeking to enable advanced features like audit trails, or simply aiming to enhance your overall proficiency with the software, check out this blog to guide you.
What is TallyPrime
TallyPrime, representing the next evolutionary leap in the lineage of the esteemed Tally accounting software series, stands as a hallmark of innovation in business management technology. This advanced version is meticulously engineered to cater to the multifaceted needs of modern businesses. It is celebrated for its exceptionally user-friendly interface, a characteristic that makes financial management accessible even to those without extensive accounting expertise. Coupled with its robust array of features, TallyPrime is not just an accounting tool but a comprehensive business management solution.
The software is meticulously crafted to streamline complex financial tasks, thereby transforming them into more manageable and user-friendly operations. This simplification is a boon for businesses of all sizes, from small startups grappling with the basics of financial management to large corporations seeking efficiency in handling vast arrays of financial data.
TallyPrime’s versatility lies in its wide-ranging capabilities. For accounting, it offers everything from ledger management, and cash-flow reports, to advanced profit analysis. In terms of sales and inventory management, it facilitates detailed tracking, order processing, and inventory control, providing real-time insights that are crucial for business decision-making.
How to Generate E-Invoice in Tally Prime
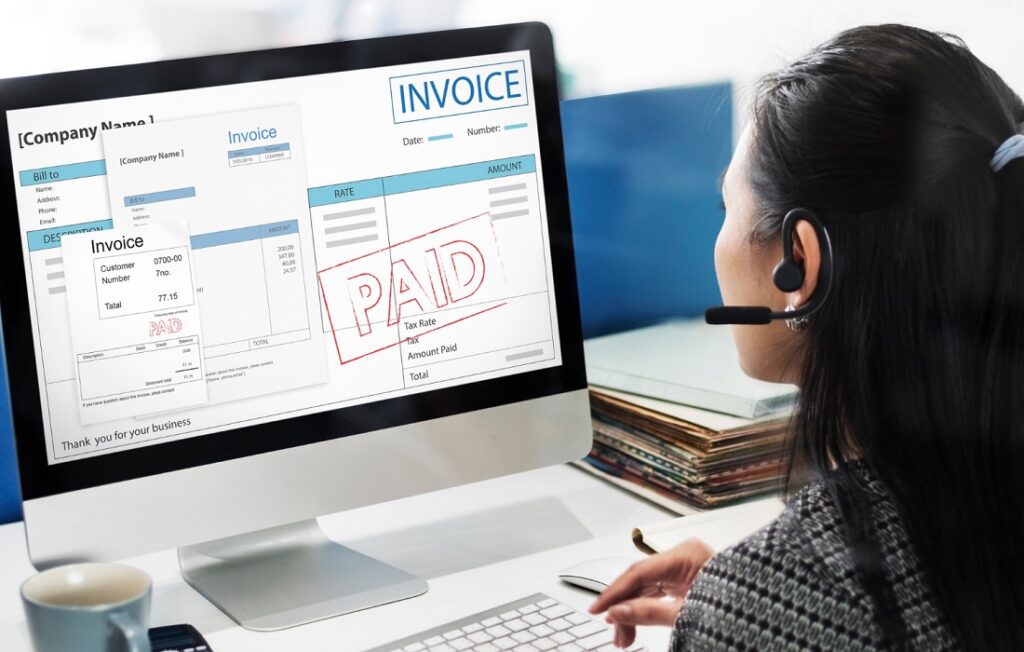
Generating an e-invoice in Tally Prime is a user-friendly yet comprehensive process, meticulously designed to cater to the needs of modern businesses while ensuring compliance with tax regulations. Here’s an in-depth look at how you can effectively generate an e-invoice using Tally Prime:
Initiating the Process
- Accessing E-Invoicing: Begin by navigating to the ‘Gateway of Tally’, the primary interface of Tally Prime. Here, select the ‘E-Invoicing’ option found under the ‘Transactions’ menu.
- Understanding the Interface: The interface is intuitively designed to guide you through the e-invoicing process, ensuring a seamless experience even for first-time users.
Entering Invoice Details
- Comprehensive Data Entry: In this step, you will input all the essential details of the invoice. This includes the invoice date, comprehensive buyer information (like GSTIN, name, and address), and detailed item information (including descriptions, quantities, prices, and applicable taxes).
- Attention to Detail: It’s crucial to enter accurate and complete information to avoid discrepancies, as these details will be reflected on the e-invoice and are essential for compliance and record-keeping.
Validation and Submission
- Automatic Error Checking: Tally Prime’s intelligent validation system automatically checks the invoice for any errors, inconsistencies, or missing information, significantly reducing the chances of mistakes.
- Submission for E-Invoicing: Once the invoice passes the validation checks, you can submit it for e-invoicing. This step is crucial as it ensures that the invoice is compliant with the current tax regulations.
Confirmation and Printing
- Generating the IRN: Upon successful submission, Tally Prime generates a unique Invoice Reference Number (IRN) and QR code for the e-invoice, which are vital for authenticity and verification purposes.
- Printing and Record-Keeping: You can then print the e-invoice complete with the IRN and QR code. This printed copy serves not only as a physical record but also as a compliance document, essential for both internal record-keeping and regulatory requirements.
How to Cancel E-Invoice in Tally Prime
The process of canceling an e-invoice in Tally Prime, while straightforward, requires careful attention to detail to ensure compliance and accurate record-keeping. Here’s a more comprehensive guide to assist you through each step of the cancellation process:
Accessing the E-Invoice for Cancellation
Navigate to the ‘E-Invoice Reports’ section within Tally Prime. This is your central hub for all e-invoice-related activities. In this section, browse through the list of generated e-invoices to locate the specific invoice you intend to cancel.
Select the invoice carefully, ensuring that you have the correct document. This step is crucial as canceling the wrong invoice can lead to complications in your financial records.
Cancellation Process
Once you have the correct e-invoice, select the ‘Cancel’ option. Tally Prime is designed to prompt a confirmation before finalizing the cancellation to prevent accidental cancellations.
At this stage, you will be required to provide a reason for the cancellation. This is a mandatory step as it aids in maintaining a transparent audit trail and helps in understanding the context of cancellation for future references.
The reasons for cancellation could range from data entry errors to cancellation of the underlying transaction. Be precise in your explanation to maintain clear and compliant records.
Record-Keeping and Compliance
Post-cancellation, Tally Prime automatically updates your records to reflect the change. This includes maintaining a detailed log of the cancellation, the reason provided, and the date and time of the transaction.
These records are crucial for compliance purposes, especially during audits. They serve as evidence of your business’s adherence to proper accounting practices and regulatory standards.
The system’s capability to store detailed cancellation logs also helps in internal reviews and reconciliations, ensuring that your financial data remains accurate and reliable.
Review and Confirmation
After the cancellation, it’s advisable to review the updated records. Ensure that the cancellation has been correctly documented and that the details align with your business records. This step is integral to maintaining the integrity of your financial data and can prevent future discrepancies during financial audits or tax filings.
Understanding the Implications of Cancellation
It’s important to understand that canceling an e-invoice has implications for your tax filings and financial reporting. Depending on the timing and reason for cancellation, it might necessitate adjustments in your tax returns or other financial statements.
Staying informed about the tax and regulatory implications of e-invoice cancellations can help you make more informed decisions and maintain compliance.
Scenarios for Cancellation
You might need to cancel an e-invoice in various situations, such as errors in the invoice, cancellation of the underlying transaction, or duplication. It’s crucial to understand that cancellation should be done within a stipulated time frame as per regulatory requirements.
Conclusion
Tally Prime is an indispensable tool for modern businesses, streamlining various financial processes. By understanding how to efficiently generate and cancel e-invoices and enabling an audit trail, businesses can ensure accuracy, compliance, and enhanced operational efficiency.
FAQs for Tally Prime E-Invoice Generation and Cancellation
Q1: How do I generate an e-invoice in Tally Prime?
A: To generate an e-invoice, navigate to the ‘Gateway of Tally’, select ‘E-Invoicing’ under ‘Transactions’, input invoice details, validate, and then submit.
Q2: What details are required to generate an e-invoice in Tally Prime?
A: You need to enter the invoice date, buyer information, item details, and any other relevant transaction information.
Q3: How can I cancel an e-invoice in Tally Prime?
A: Go to ‘E-Invoice Reports’, select the invoice, and choose ‘Cancel’. Provide a cancellation reason when prompted.
Q4: Is there a time limit for canceling an e-invoice in Tally Prime?
A: Yes, e-invoices should be canceled within the time frame specified by regulatory guidelines. Check local regulations for specific time limits.
Q5: Are canceled e-invoices stored in Tally Prime?
A: Yes, Tally Prime keeps a record of all canceled e-invoices for future reference and compliance purposes.
Q6: Can I edit an e-invoice instead of canceling it in Tally Prime?
A: No, once an e-invoice is generated, it cannot be edited. You must cancel the original invoice and create a new one with the correct details.
Q7: Does Tally Prime validate e-invoices before submission?
A: Yes, Tally Prime automatically validates e-invoices for errors or missing information before submission.
Q8: Is it mandatory to provide a reason for e-invoice cancellation in Tally Prime?
A: Yes, providing a reason for cancellation is mandatory for maintaining a transparent audit trail and compliance.
Additional Resources
To learn more about Tally Prime, do check out our comprehensive resources:
https://support.sawindia.com/support/solutions/articles/17000111335-all-about-tallyprime-faq-
https://support.sawindia.com/support/solutions/articles/17000113488-e-invoicing-in-tallyprime
For more detailed information or specific queries, contact our team at Software@Work India, today!